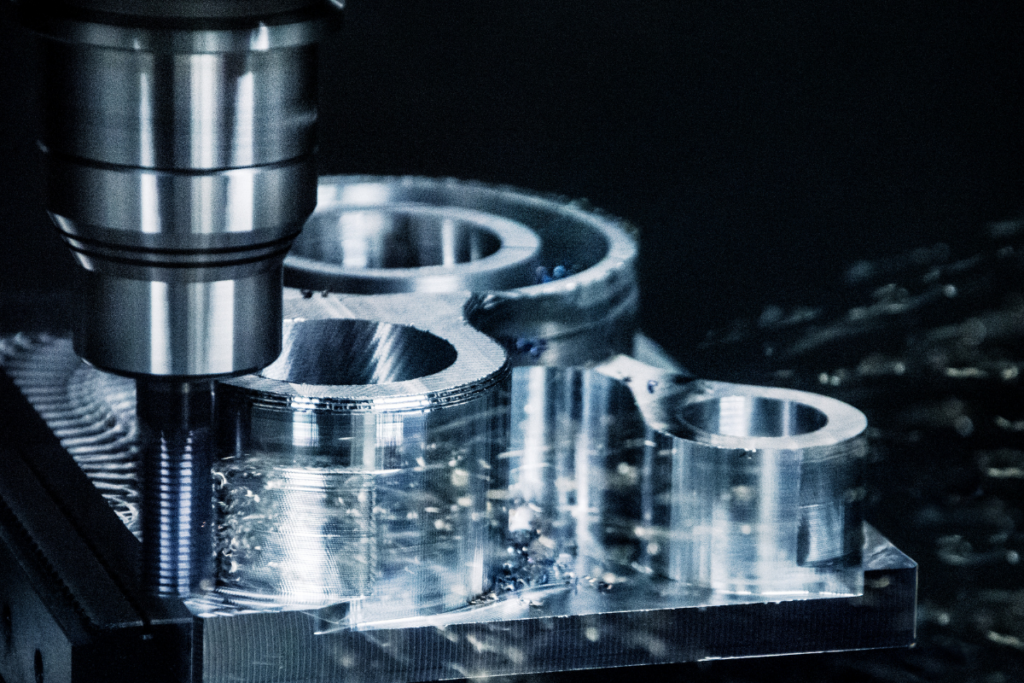
Achieving tight tolerances is critical to how precision machined parts fit into the overall assembly of the final product. Any lapses in ensuring the tightest tolerance possible can seriously affect the product’s safe, efficient performance.
Even if the part has a complex, intricate design, there’s simply no room for error from your CNC manufacturing company.
How Do Tolerances In Precision Machine Projects Work?
Manufacturers set different tolerances for each part or component within a project, but the general rule is that tolerances are especially small when the part requires extreme precision. For example, bearings, shafts, engine components, and transmission parts in off-road vehicles all have tight tolerances so they can operate efficiently within the final assembly.
Some manufacturers will widen tolerances on non-essential features of the product, as they don’t require the same precision as tighter tolerances. This allows for lower-cost production techniques that save time and money.
Variations in tolerance apply to many aspects of the individual part being fabricated, such as linear tolerances that pertain to its length, width, or thickness, and geometric tolerances that impact shape and orientation, such as flatness, roundness, perpendicularity, circularity, cylindricity, and more.
Dimensional tolerances that control variations in linear and angular dimensions are also measured, as are surface finish tolerances, which define the permissible roughness of a machined surface. These tolerances are most often measured in Ra (roughness average), usually in micrometres (μm).
No detail is missed in ensuring tight tolerances – the success of the project depends on it.
The Three Types Of Tolerances That Ensure Product Quality
In precision machining, there are typically three main types of tolerances:
- Limit tolerances: Defined by specifying two-dimensional upper and lower values that specify the acceptable range of a dimension
- Unilateral tolerances: Permits only one direction of variation from the specified dimension
- Bilateral tolerances: Ensuring that the upper and lower limits deviate from the base dimension are symmetrical
Fit tolerances govern how different components attach to one another. For example, clearance fits always ensure there is a gap between attached parts, whereas interference fits allow parts to be intentionally tighter than the nominal size.
Another example is a transition fit, which can be either tight or loose, depending on the dimensions achieved.
How Do Tolerances Influence The Fabrication Process?
Managing tight tolerances can significantly impact your project. For example, if a looser tolerance is acceptable on a part, less precise but more economical processes, such as stamping or plasma cutting, can be used to produce it.
However, achieving tight tolerances may require the use of high-tech precision technology such as CNC machining, which can require careful programming, tool calibration, custom tooling, additional finishing processes such as grinding or polishing, and meticulous quality control measures. Additional production time may also be required for this level of detail, but most manufacturers consider the additional time and expense worth it to get the best results possible.
Material selection is another factor that can affect a part’s ability to meet tolerance requirements. Hard steel is usually best for tight tolerances, whereas softer materials such as aluminum might experience more variation due to heat or deformation during the fabrication process.
Read More: CNC Technology’s Role In Optimizing Production Costs
How Tolerances Are Defined And Measured At Arrow Off-Road
Our engineers rely on advanced technology throughout the design and fabrication process. Whether using computer-aided design (CAD) software to create intricate designs or computer numerical code (CNC) programming to feed cutting and shaping instructions to automated metalworking tools, we’re always innovating our process to deliver quality products to our customers.
Arrow Off-Road conforms to tolerance grades defined by ISO 286-1/2, from IT01 (highest precision) to IT18 (loosest fit), using the Geometric Dimensioning and Tolerancing (ASME Y14.5) system for precise feature control. The GD&T system is the industry standard for tolerances, dealing with geometric characteristics such as flatness, position, and concentricity. These are all noted in the design, with numeric call-outs logged beside the dimension to which they apply.
During fabrication, we use coordinate measuring machines (CMM) to help measure and ensure tight tolerances. CMM uses a precise probe that moves along a part to capture its X, Y, and Z axes surface coordinates and then compares them to the specified tolerances in the design drawings. It then returns a Pass/Fail status in tabular or graphical form based on the part’s noted tolerance limits. CMMs also generate detailed inspection reports to help engineers enhance quality control.
Support With Determining And Measuring Tolerances
Working with tolerances requires a high degree of technical expertise and support from your fabrication parts service provider. The precision machine engineers at Arrow Off-Road have the skills and experience to guide you through the complex process of determining the right level of tolerance for your parts and equipment.
Our fully collaborative process helps you make informed decisions that will ensure that you get the most out of your investment.
When you’re ready to move forward with your next fabrication project with one of the most trusted CNC machine manufacturers in Canada, call us first.
Read More: Our Capabilities
Get A Project Quote From Arrow Off-Road For Your Next Design And Fabrication Project
Partner with Arrow Off-Road For precise machining, welding, and fabrication solutions customized to your requirements and application. Request a quote for your next project to experience the Arrow difference in quality, precision, and service for yourself. Get in touch with us today!
